Rustic spanish bread
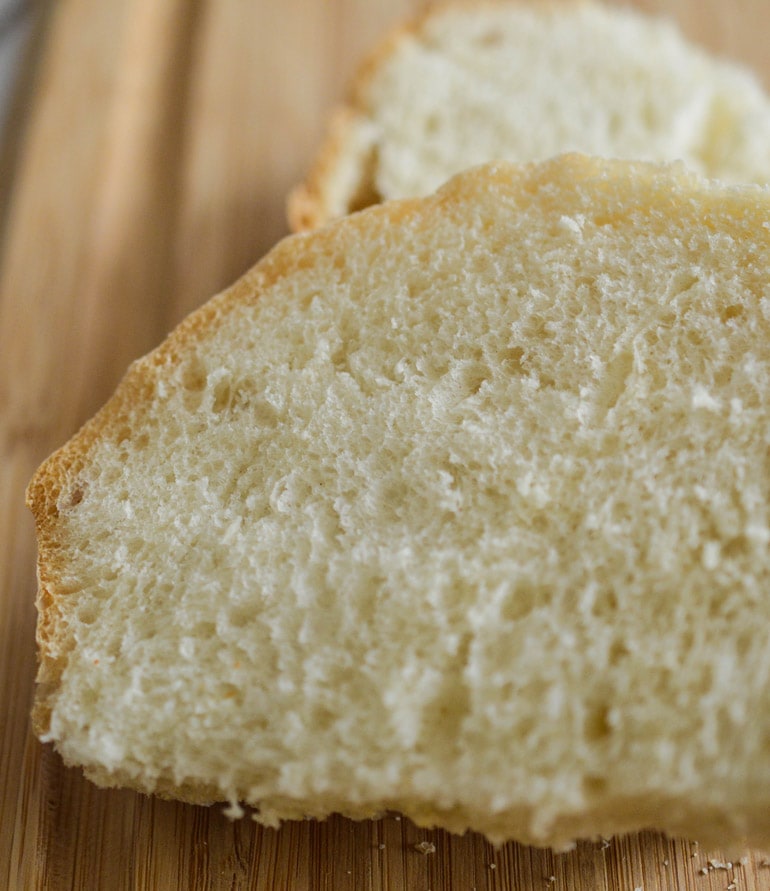
My husband’s brother got this recipe from a baker in Barcelona, where he lived for a couple of years. It gets its softness from a little bit of extra virgin olive oil, a typical Spanish ingredient.
Baking bread can be intimidating at first, and to be honest there are many ways to mess it up. But if you know a few baker’s secrets, you can create a beautiful loaf of bread to be proud of. These step-by-step instructions will help guide even a beginner baker.
rustic spanish bread step by step
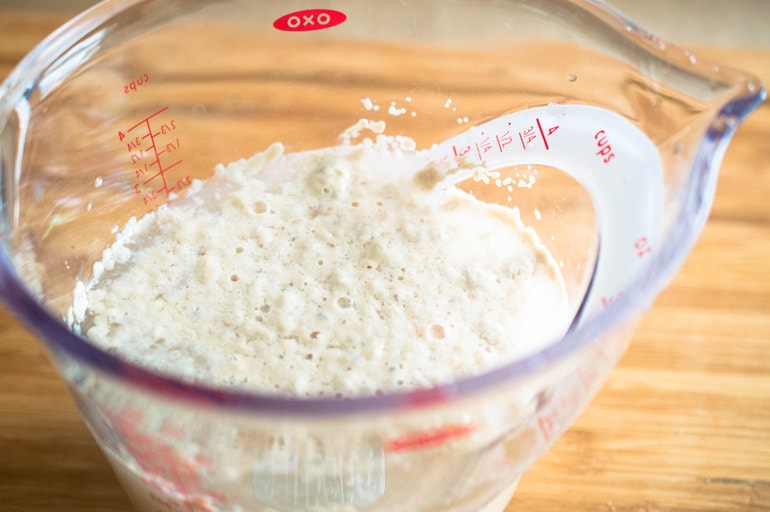
1. Begin the process by “proofing” the active dry yeast in warm water. Sprinkle the yeast over the water, stir, and let the mixture sit for about 10 minutes until it bubbles. Proofing is a way of making sure your yeast is still active. When added to warm water, the yeast expands and begins to form bubbles. The way my mom explained it to me when I was a little girl is that yeast is alive, and when you put it in water it grows.
The water temperature should be about 95 degrees, or body temperature. When I first started baking bread on my own, I couldn’t get it to rise properly, and it was always dense and flat. Finally, a friend told me my water was too hot. I was killing the yeast! The water shouldn’t feel like hot bath water but should be just a little warm. Use a thermometer to check the water temperature until you get used to what 95 degrees feels like.
2. This recipe uses 2 3/4 cups of water for 7 cups of bread flour, which is about the standard hydration ratio for “strong,” or high-protein, flour. I like to use a locally milled bread flour, but any bread flour is fine. You can also use all-purpose flour, which is lower in protein. If you use all-purpose flour, reduce the water to 2 1/2 cups. The dough for this bread is not wet, like a focaccia dough, and it’s not dry, like a ciabatta dough. It’s a medium weight, springy dough.
3. While the yeast is proofing, measure 7 cups of flour into your mixing bowl. I use a Bosch mixer because it has a powerful motor perfect for kneading bread dough, but a KitchenAid mixer
 or other mixer is great. You can also make this bread by hand, which I did for years before I had a mixer.
4. When measuring the flour, it should have a little bit of air in it. Stir and fluff the flour before measuring. Scoop the flour into your measuring cup, and use the flat side of a table knife to level the flour with the top of the cup. If you have a kitchen scale, I recommend weighing the flour to get the most accurate measurement. A standard weight for 7 cups of flour is 2 pounds 2 1/2 ounces.
5. Put the flour in the bowl of your mixer with the dough hook attached. Turn on the mixer, add 1 tablespoon of salt to the flour, and let it mix. The standard ratio of salt to flour in bread baking is 1/2 teaspoon salt per cup of flour, but for this bread I use a little less salt.
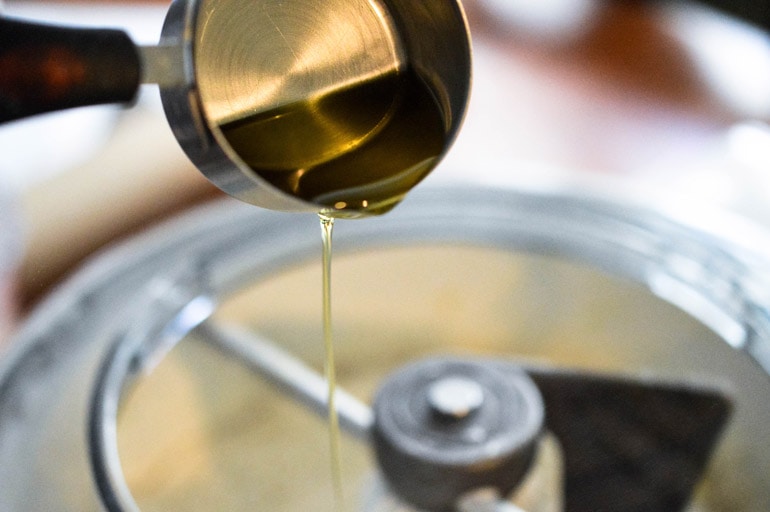
6. While the mixer is running, slowly drizzle 1/4 cup of olive oil into the flour. If making the bread by hand, you can incorporate the oil with the flour using a whisk.
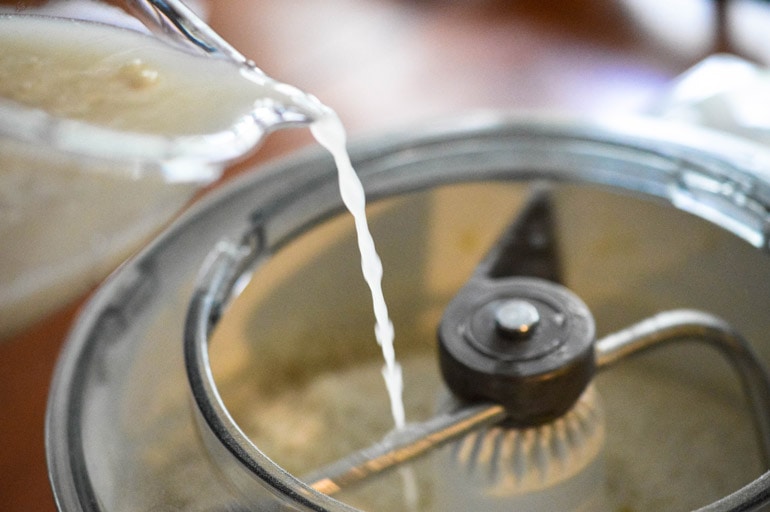
7. Next, add the yeast and water mixture while the mixer is still running. If you are doing this step by hand, you will want to switch from a whisk to a sturdy wooden spoon.
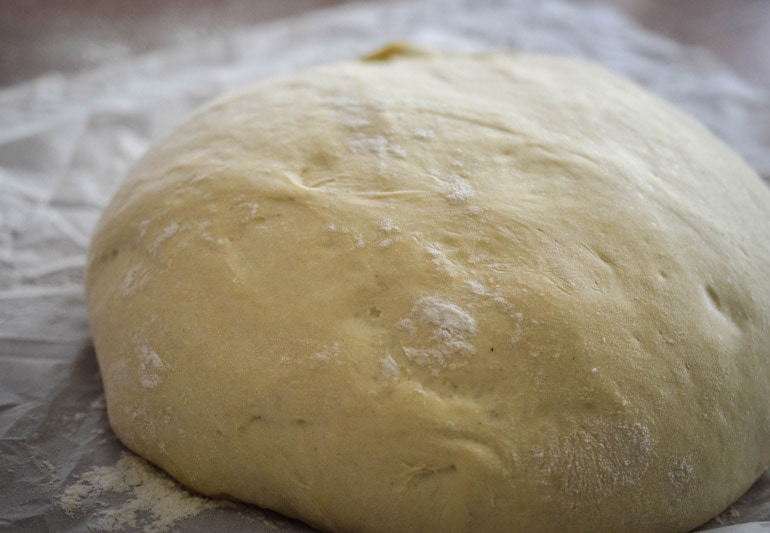
8. Let the dough knead in the mixer for 4 minutes. If making the bread by hand, turn the dough out onto a floured surface and knead for 5 minutes. By this time, you’ll have a smooth, springy dough that bounces back when you press it with your finger.
9. Cover the dough with waxed paper that has been sprayed with cooking spray, then cover that with a kitchen towel. Let the dough rise in a warm place (room temperature is fine) for about an hour until it has doubled in size.
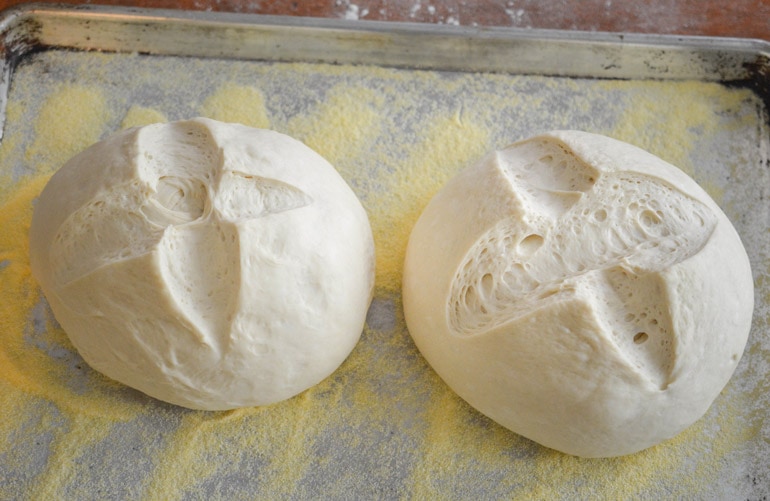
10. Knead the risen dough on a floured surface by hand for about a minute to remove air. Shape the dough into 2 equal-size balls, and place them on a large baking sheet that has been liberally sprinkled with cornmeal. Use a sharp knife to cut a shallow “X” into the top of each ball.
11. Cover the dough with sprayed waxed paper and a kitchen towel as before, and let it rise a second time for 20-25 minutes. During the second rising (also called “proofing”), preheat your oven to 425 degrees.
You can see that my loaves are touching each other, which I don’t mind, but if you want a perfect crust all around you should keep them separated.
12. Bake the bread at 425 degrees for 23-25 minutes, until browned on the outside. Bake 5 minutes longer if you want a crisper crust.
13. Isn’t it beautiful? The actual work time for making this bread is only about 20 minutes. Total time including rising and baking time is about 2 1/2 hours.
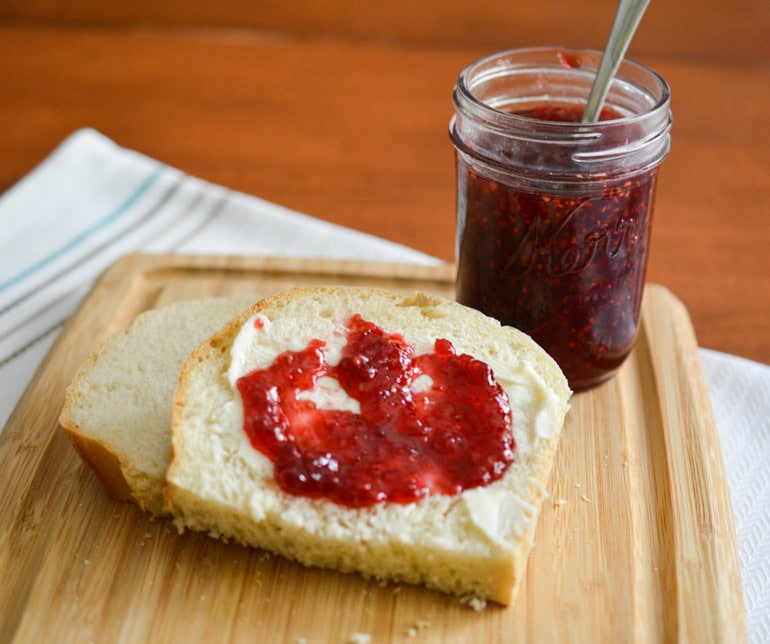
14. This bread is so easy and versatile, it makes a great gift for the holidays, for a sick friend, or for someone who’s just had a baby. You can serve the bread with almost anything, but my favorite way of eating it is with butter and homemade raspberry jam!
